One of the challenges when making a linocut is not getting ink in the negative space of your design - assuming you don’t want it there. The negative space is the carved away area of your linoleum block that you don’t want printed. For example, perhaps you want a nice, clean background to your linocut.
A number of students in my beginner’s linocut course have asked about this issue. There’re several ways to help solve this common problem.
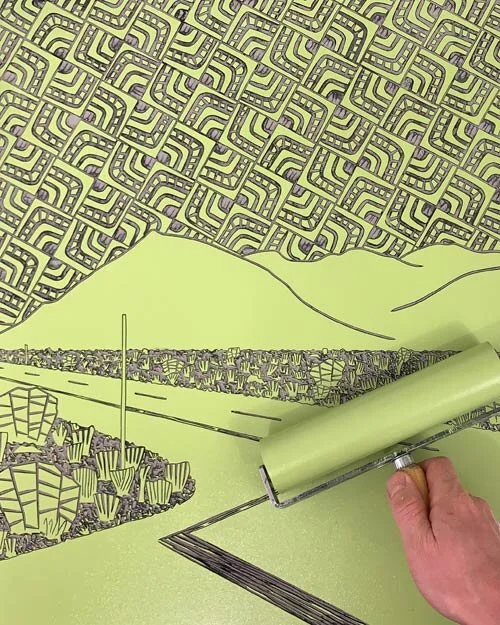
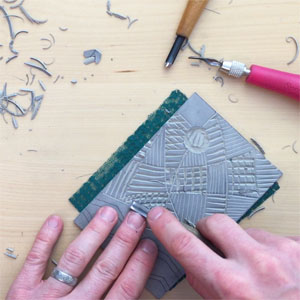
First and foremost, run your fingertip in the cleared negative space (the space you don’t want printed) and feel for high spots. See if you can carve down a little more of the negative space with a “U” gouge, like in this video. Use the widest tool you have at your disposal. This helps with unwanted embossing of the paper, too.
Carving away the linoleum block’s negative space with a “U” gouge.
Here are some other tips:
If I really want a pristine background, I will methodically wipe away any unwanted traces of ink with a rag or Q-tip (cotton swab) before printing.
Use the narrowest brayer possible to better control where the ink ends up.
You can block off the negative space with a small piece of paper, cardstock or tape while inking the rest of the lino block.
Take scraps of linoleum and run them along the side of your block when inking it up. This will help keep the brayer from dipping down into the low areas of your block.
Cut a basic stencil in the shape of your image out of a scrap piece of paper. Place your stencil over the block before inking. This will help keep ink off outside areas.
If you’re printing with a press, keep in mind that press blankets can push the paper into areas you don't want printed or embossed. I put a thin sheet of MDF wood on top of my paper before putting just one press blanket on top of that.

