Linocut Tutorial: Techniques, Beginner Tips, and the Best Tools, Ink and Supplies
What is linocut? Maybe you remember it from school? A linocut is a type of relief, or block print, and bears a lot of similarities to woodblock printing. Essentially, the artist carves an image into a linoleum (lino) block and what's left of the block is inked and printed.
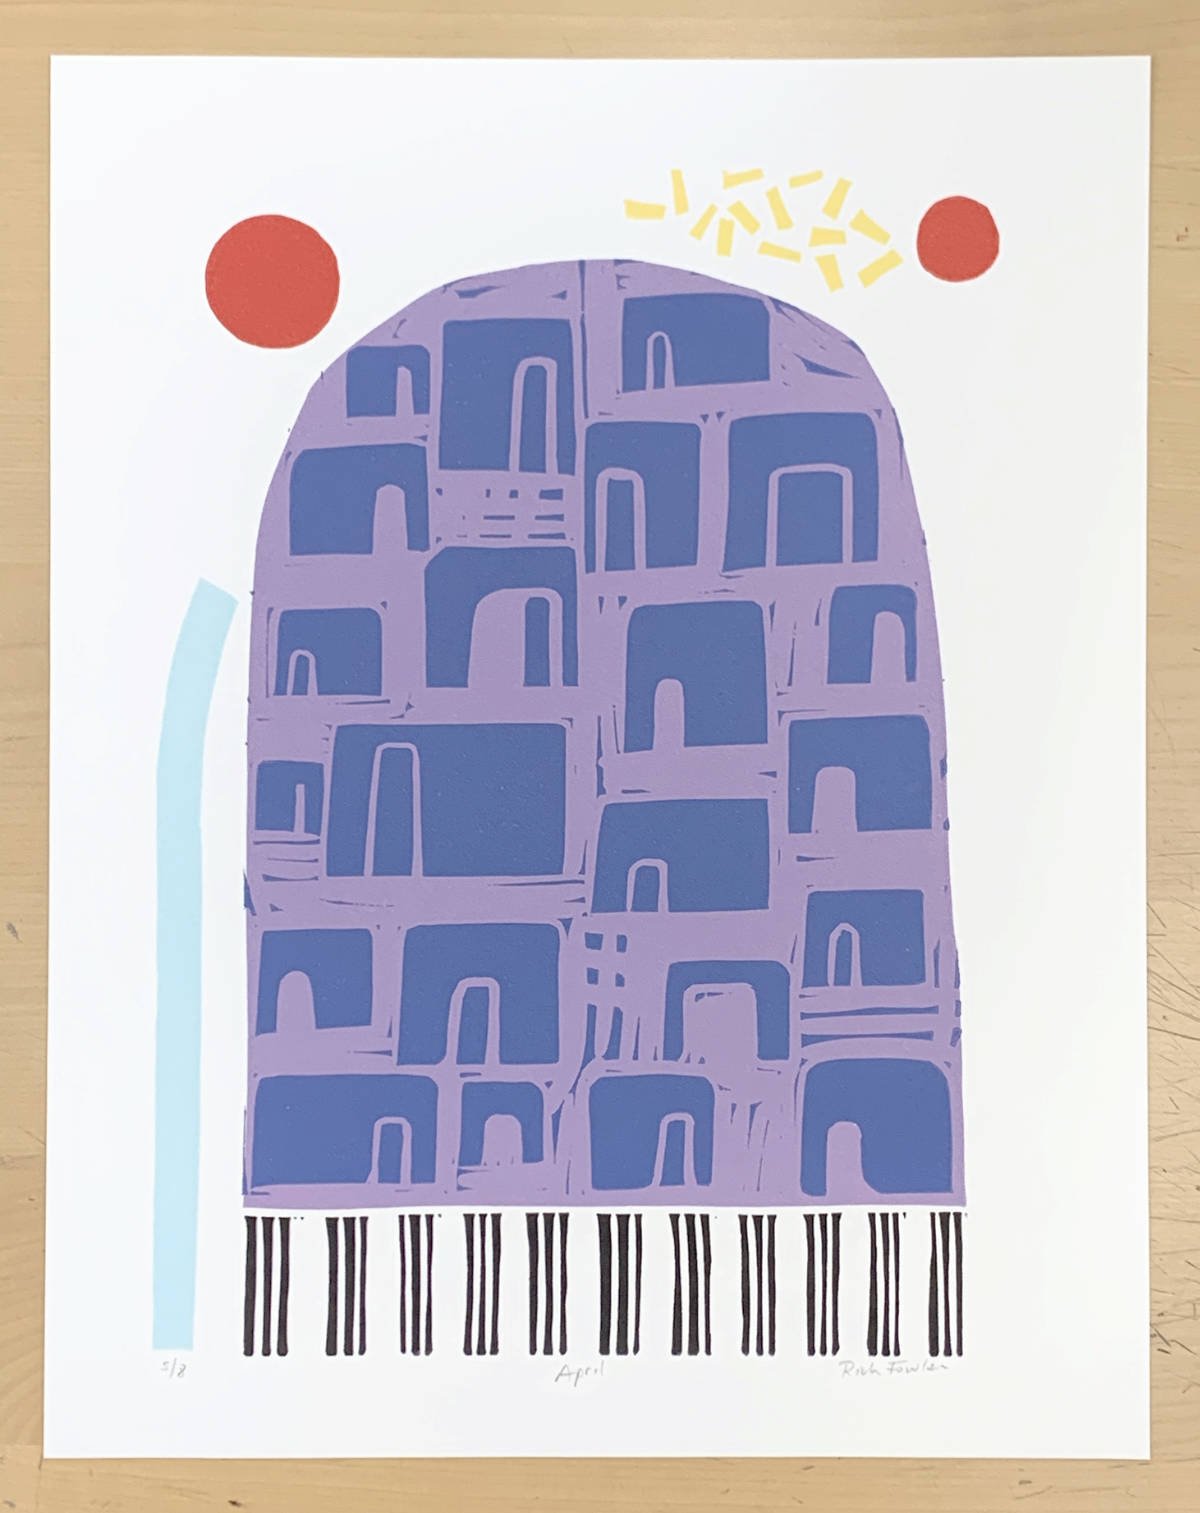
Linocut Print Titled, April
In this introduction to lino printing, I'm going to give you an overview of the process for making a simple single-color linocut, which I hope is useful for beginners and those reacquainting themselves with the art form. But, on the next page, I also lay out techniques for more challenging multi-color lino prints. I've included reviews of some of the best options for lino cutting tools, supplies and etching presses since those are common questions. Some links will take you to Blick Art Materials and Amazon, where some block printing supplies are sold. I participate in their affiliate programs so if you click on those links, I would get a small commission if you end up buying something on the sites, but please shop at your favorite store! You can find more details about this here. McClain's Printmaking Supplies is a smaller company that also sells relief printing materials.
Popular Block Printing Supplies
If you’re trying to put together a linocut kit, here are some popular supplies.
Caligo Safe Wash Relief Inks - (read review)
Power Grip Carving Tools - (read review)
How to Make a Linocut Print
1. Linocut Design - My linocut design process usually starts with sketching on paper and a quick study or two on small pieces of linoleum while I experiment with compositions and patterns. I sometimes use Adobe Photoshop Elements or Affinity Photo to see how the print might look in different colors or by tweaking the composition. They’re much more affordable than "professional" graphic design software like Adobe Illustrator.
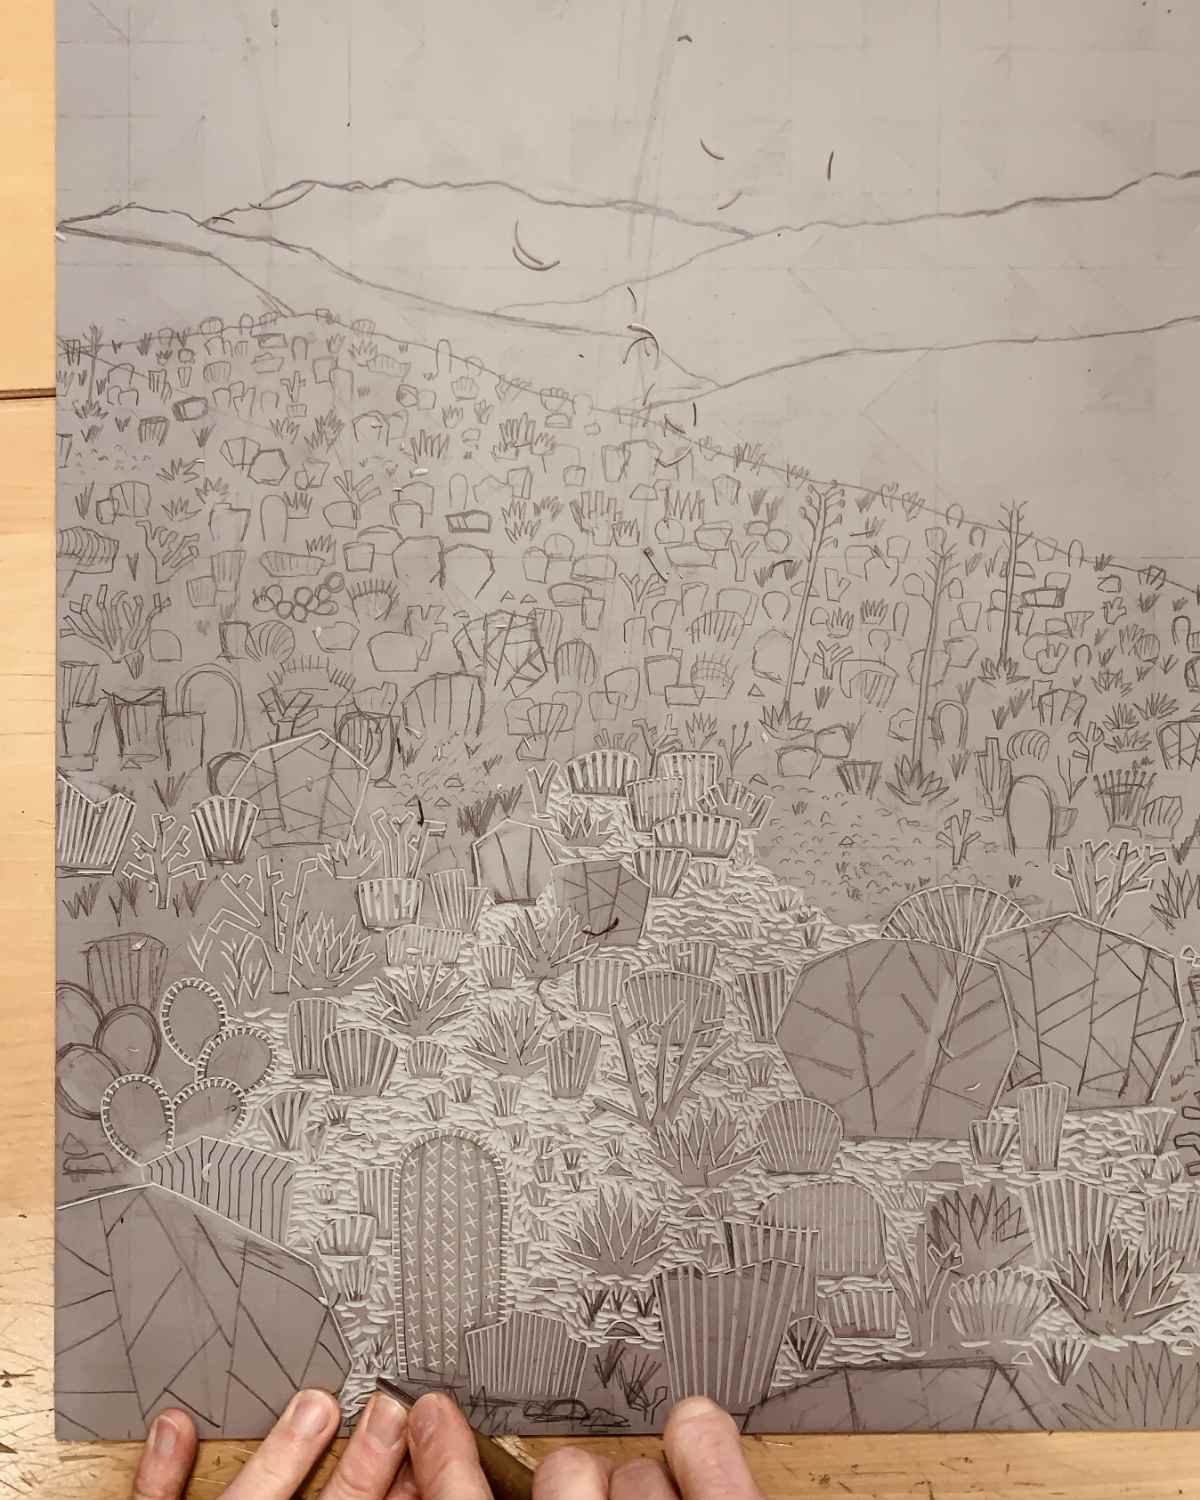
Desert Linocut Design and Initial Carving
After coming up with a plan, I sketch my final design on paper and transfer the image to the linoleum block using graphite transfer paper, or draw directly on the block.
Buying Linoleum Blocks - My personal favorite linoleum is called battleship gray linoleum and I get it unmounted (i.e. not glued to wood) and in packs of three. I buy my linoleum in large 18" x 24" unmounted blocks and then cut them down to size with a box cutter, which can save some money. You can buy linoleum blocks in smaller sizes like 4"x6" if you prefer, as well as mounted linoleum in a range of sizes like 9"x12". Though you can buy linoleum already mounted on wood, I usually don't find that necessary.
I have to keep in mind that the image will be printed in reverse so I plan (when I remember!) accordingly.
2. Linoleum Block Carving - using linocut cutting tools - gouges - and other mark making tools, I carve the image in the linoleum block. What is carved out of the block will not be printed in the image. Always carve in a direction away from your other hand for safety's sake. You can use a bench hook to hold your block in place or a scrap of non-skid shelf lining laid underneath the block works well.
Selecting the Right Carving Tools - I wrote a blog post about choosing the best lino cutting tools. Gouges come in different shapes (like "V" and "U") and sizes depending on the job. Amongst the most popular tools (and my very first) is the Speedball linoleum cutter. It's affordable and comes with a range of interchangeable blades. I also use Power Grip carving tools and particularly like the "U" gouges.
Other choices are Pfeil tools (with their mushroom-shaped handles, which I'm not crazy about) and Flexcut gouges (I've not used these but they're popular). There are also excellent Japanese woodcut tools, which I really like but can be expensive. And, don't limit yourself to gouges, anything that makes a mark (nails, files, etc.) might work.
Tool Sharpening - Sharp tools make all the difference, making it easier to carve fine details. McClain's Printmaking Supplies has good instructions on how to sharpen them using a sharpening water stone, leather honing block and honing compound.
If you carve a mistake in your lino, I have some tips on repairing the linoleum block.
3. Inking the Linoleum Block - I check my work periodically by rolling a thin layer of ink on the linoleum, usually with a Speedball rubber brayer, and printing. This gives me an idea of how the carving is coming along and I can make changes to my design as necessary. Here's an example of me proofing part of a linoleum block with black ink.
Brayers (rollers) come in a range of sizes so you’ll want one that fits the size of your project as best as possible. Try to avoid over inking the block to keep ink from seeping down into the carved recesses of the block. I've learned that I'm happier with the printed results when I've applied the ink in a few thin layers. Also, I’ve written a blog post about keeping unwanted ink from getting into the negative space of your design, like your image’s background.
Choosing Relief / Block Printing Ink - There are all sorts of different inks to choose from and one of my favorites is Caligo Safe Wash Relief Ink, which is oil-based but cleans up with dish soap and water. Though I prefer Caligo, a lot of beginners use Speedball Block Printing Ink, which is inexpensive and straightforward to work with. However, in terms of water-based inks, I've found that Schmincke Aqua Linoldruck ink is superior. I've done an exhaustive review of the best (and worst) linocut inks and summarized my findings in a blog post.
Inked up Linoleum Block for Printing
4. Printing the Linocut - The linocut is printed by hand or with the use of a press.
Printing by Hand - The paper is carefully laid on the inked block and burnished on the back with a tool called a baren - the back of a wooden spoon works too. Speedball makes a popular baren and I've had one for a couple years. It's handy, especially in combination with a spoon, but I did have to fix it by replacing the screws in the handle.
Printing with a Press - The block can also be printed on an etching press (or similar press), which is how most of my work is printed. This video shows me inking the lino block and pulling the print with a press. I find that the block typically prints better after a couple prints have been pulled.
Etching Presses - Here in the US, Conrad and Takach presses are amongst the best available. I'm a fan of Blick etching presses (I've bought two over the years!) because they offer excellent bang for the buck in comparison. I’ve owned two Blick presses; the Blick 999 Model II etching press (pictured above) and the smaller Blick Econo Etch Model II press. Feel free to check out my review of these two Blick etching presses. Alternatively, you might try the less expensive colorful, hand-operated Woodzilla presses that seem to have gained popularity, though I’ve not used one yet. Or, you could build your own printing press on a relatively small budget using a design like this Bottle Jack Press by Charles Morgan.
Printmaking Paper for Linocuts - Popular types of paper for relief printmaking include Rives BFK, Stonehenge (a personal favorite) and Japanese washi paper. Lighter weight paper is particularly well suited for printing by hand as it doesn't require as much pressure to get a nice, crisp impression. I have a review of good papers for hand printing linocuts that I did in 2020.
I usually buy my paper in large 22" x 30" sheets and then cut it to size. I do this by carefully tearing it along the edge of my 36" metal straightedge or using one of my paper trimmers. Finally, I let the ink dry keeping in mind that oil-based ink takes longer than water-based ink.
Short Linocut Technique Videos
Here are some short videos I’ve posted on Instagram illustrating lino printing techniques.
If you're primarily interested in block printing on textiles, be sure to check out my guide to fabric printing.
Last updated: April 25, 2024


